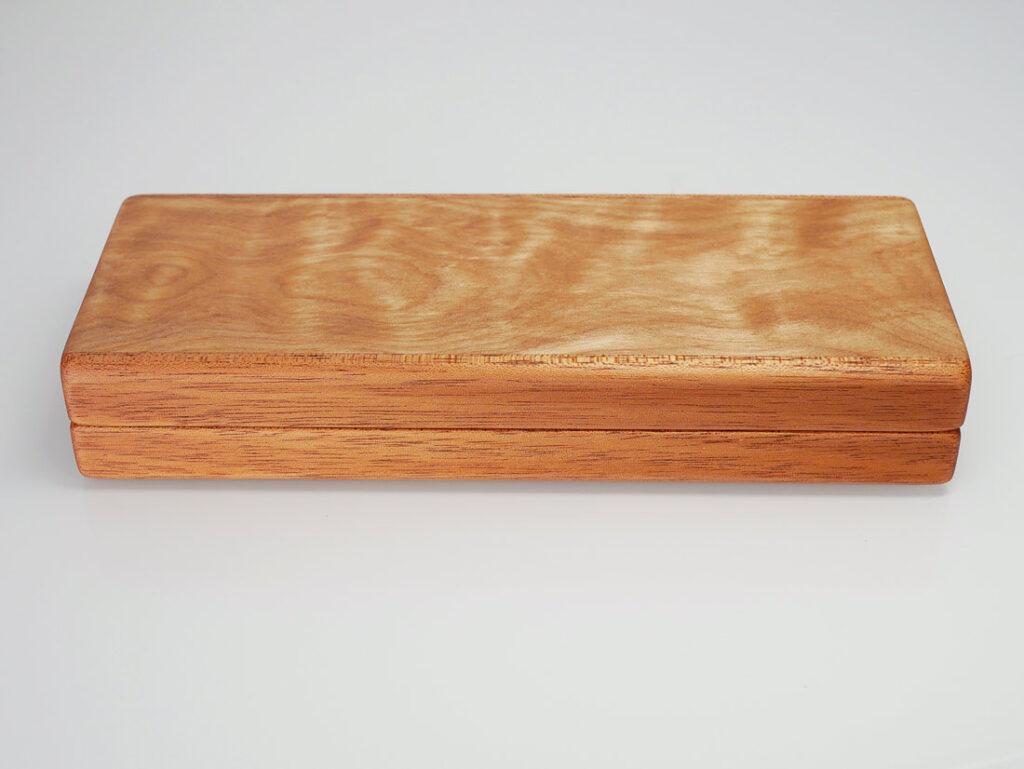
I made a strop and its storage this time. It’s basically because I didn’t like the strop surface to be exposed that sometimes gets things dirty and I wanted to store a stropping compound together with it.
Project Summary
I wanted to make a strop case that can cover the strop surface and hold a compound. I also wanted to make one that my fellow beginners can easily make. The design also gives me super quick access to use.
- Tools I used
- Hand Saws
- Chisels
- Hand Planes
On this page, I will share the tips I found during the project. For the steps of how I made it, please watch the video.
My Findings
Materials
Wood Species
I used leftover birch but birch seems to get dirty easily. As this is for a stropping, it is better if you avoid lighter color and porous woods such as red oak and birch. The dust from the compound easily gets in the pores. I think cherry is a reasonable choice but as this only requires a simple fabrication, you can try some exotic woods like padauk, zebrawood or any dense woods for fun.
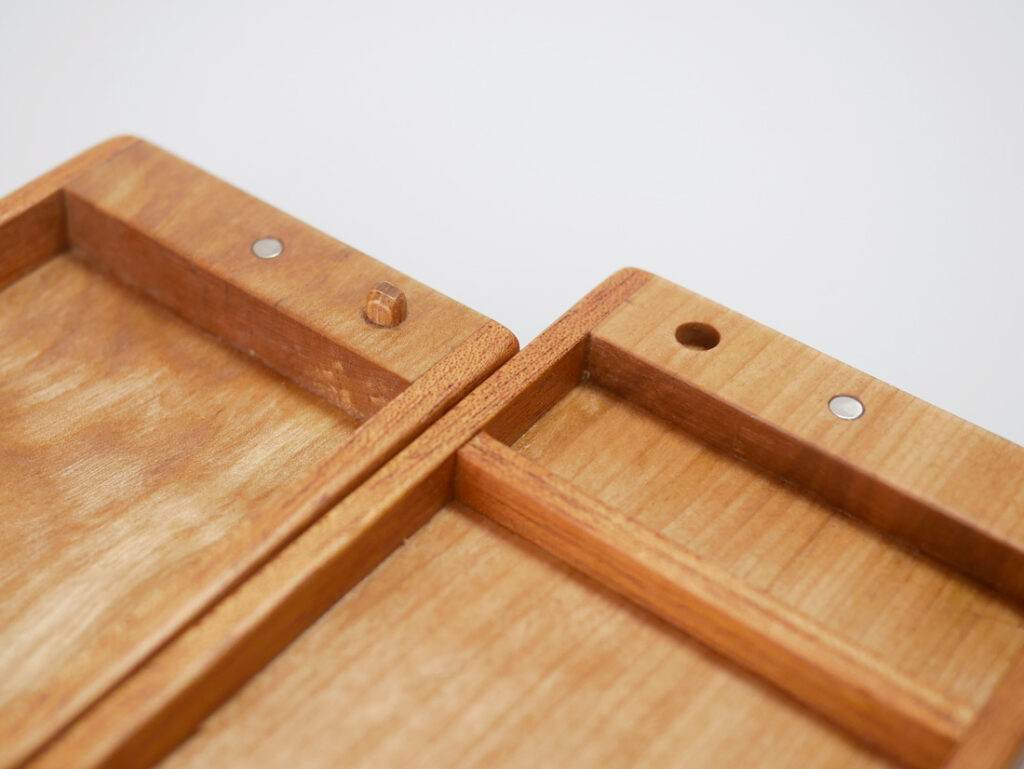
Thickness of Boards
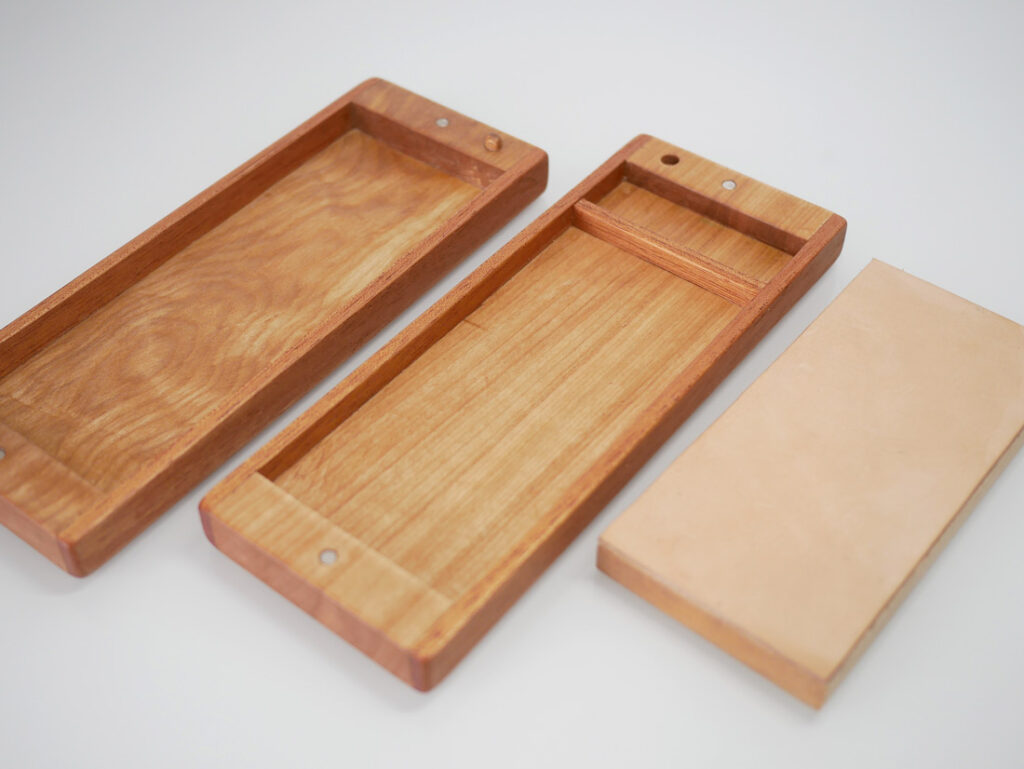
I use about 3/4″ wood for the top and bottom parts of the case and the wood for the strop is 1/2″ thick. It’s because all wood is leftover from the past projects. I cut out 3/8″ depth on the bottom piece and 1/2″ depth for the top piece. I think it could have been easier if I use 3/4″ wood for the stropping and cut out 1/2″ depth on the both pieces.
Fabrication
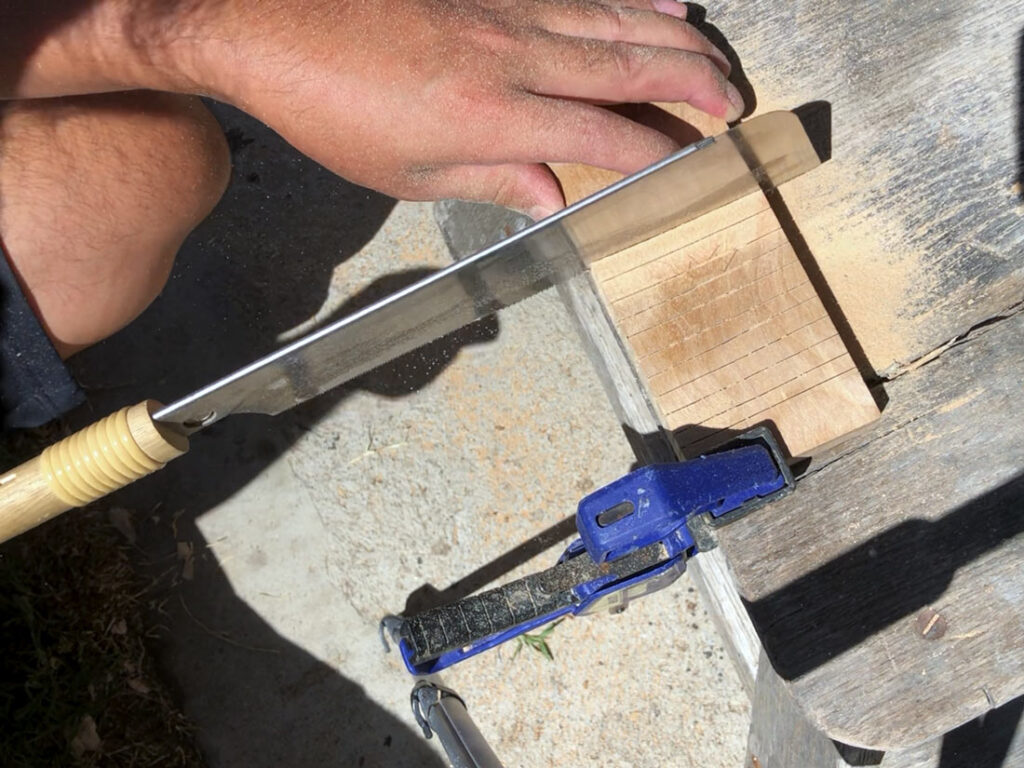
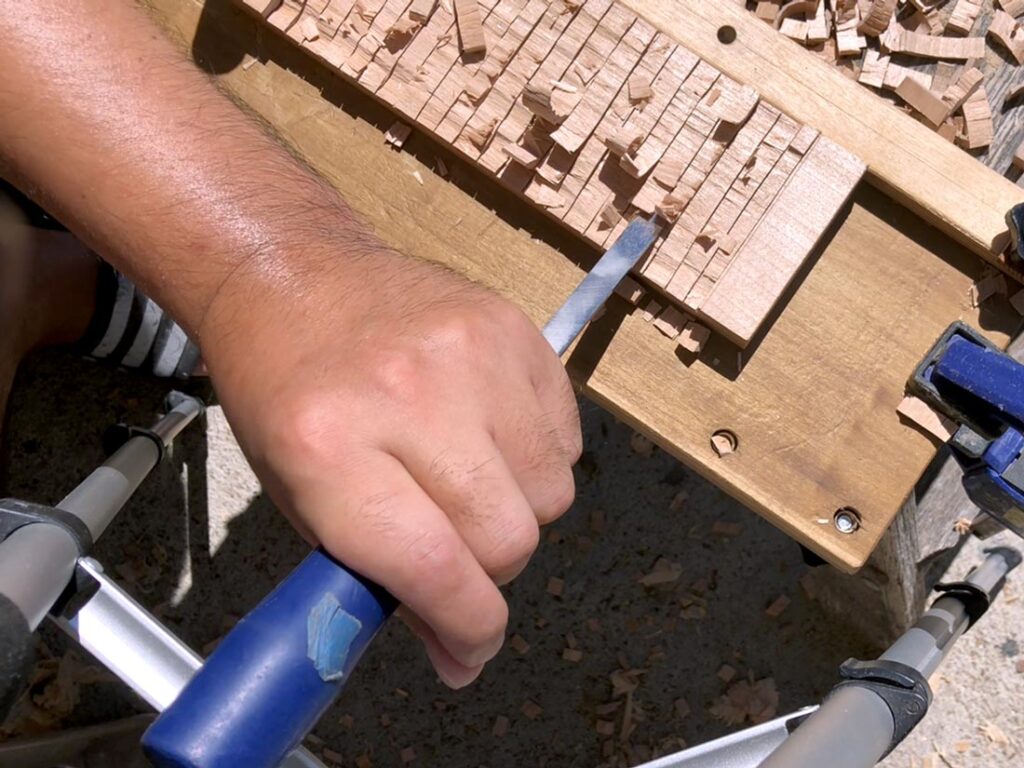
Cutting Out the Board
To cut out the middle part of boards, I first made a lot of relief cuts (about every 1/2″) by saw and break them by chisel. However, when chiseling to break the middle part, it wasn’t as easy as I thought it would be. I think if I made more relief cuts like every 1/4″, it could have been faster to finish this process.
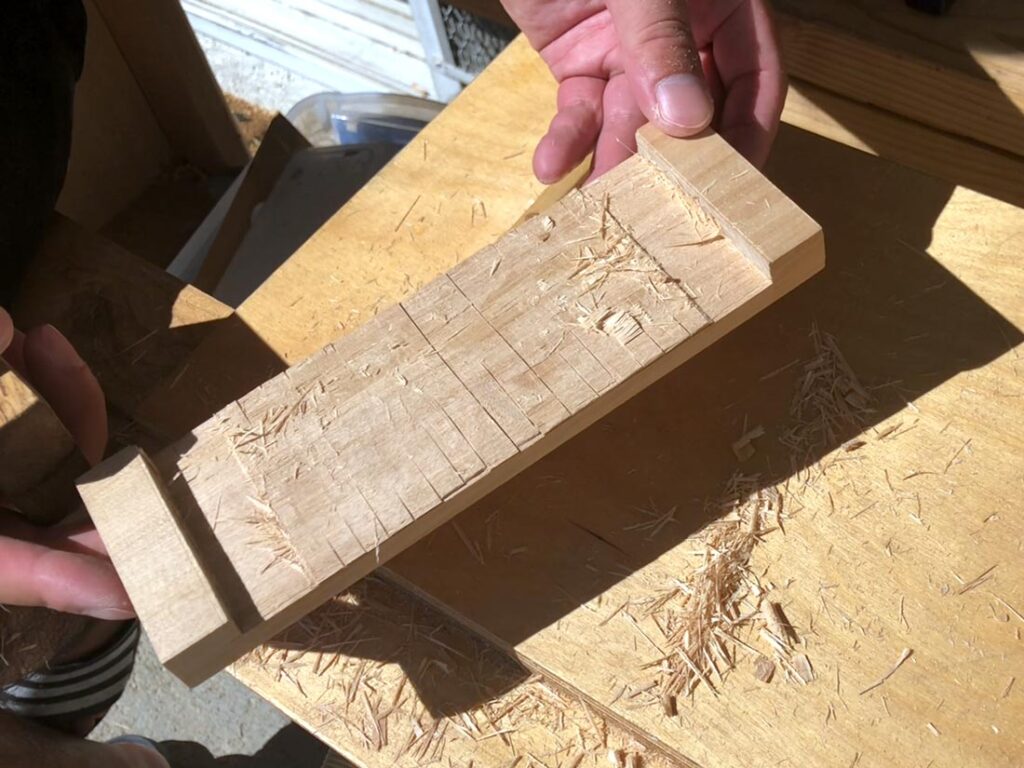
Flatten the Bottom
I tried to get a correct depth on both ends of the cutout by chisel and using it as a reference for a hand plane to even out the board. This method worked great. Just be careful when you do hand planing across the grain. You should do it from both sides towards the inside of the board or the edges may be tearing out.
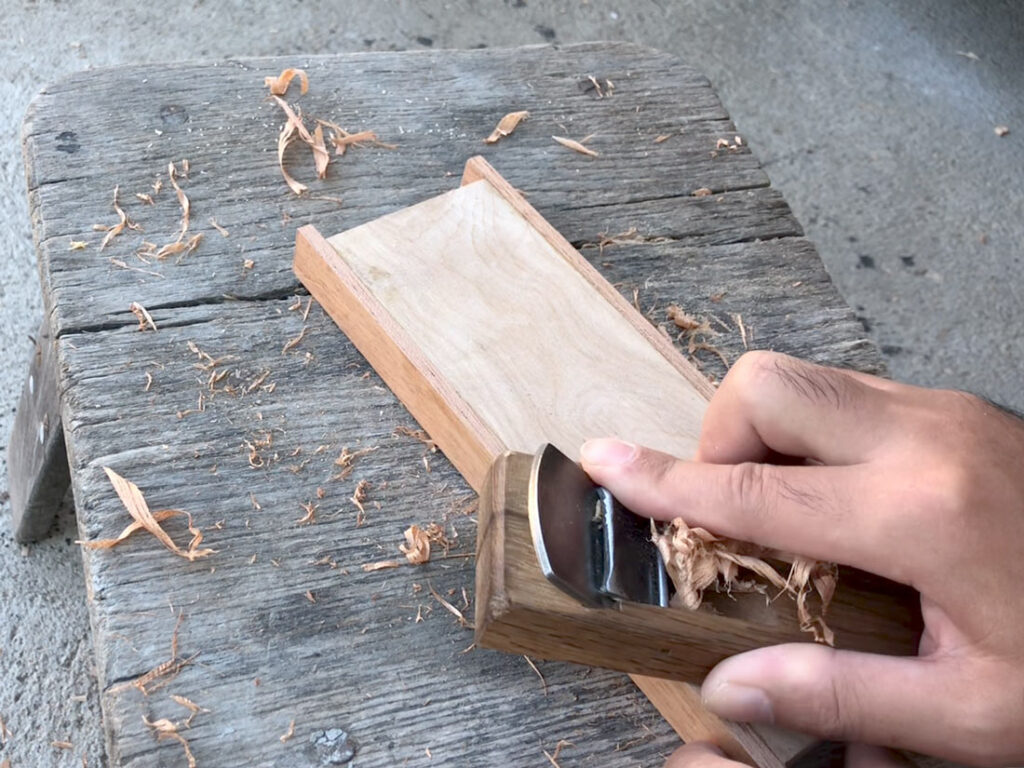
Cutting the Excess
Like I mentioned in the video, a hand plane is a good option to flush trim the excess. Once you get used to doing this, you feel you will not need a powered router for this small thing unless you have a dedicated space for the router and it’s always ready to use.
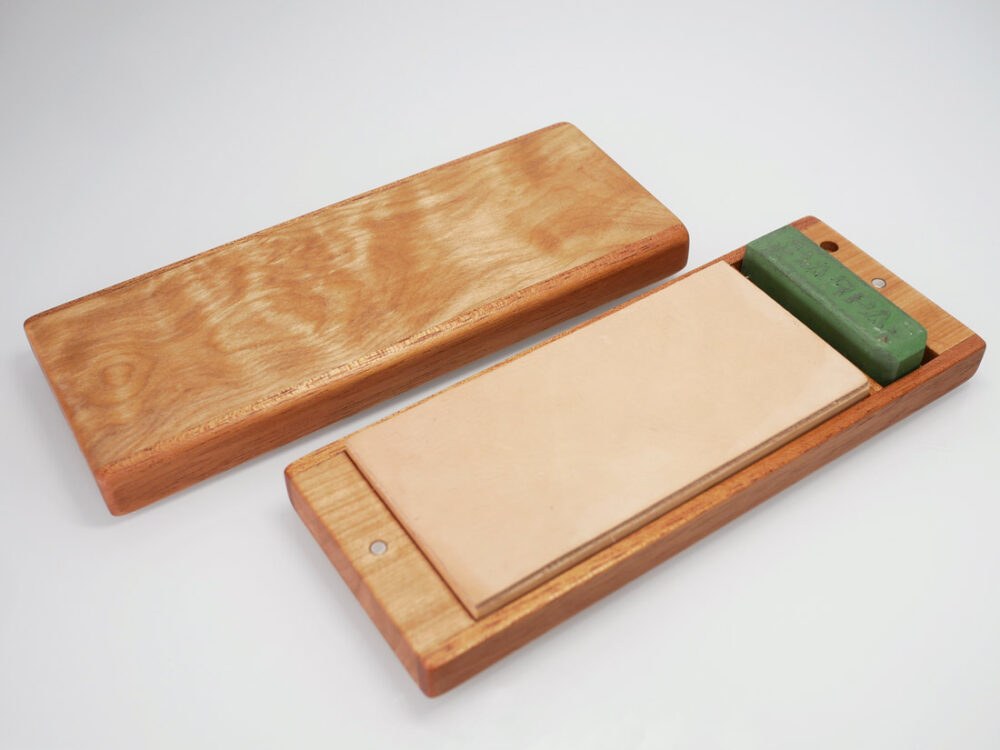
Stropping Things
Leather Choice
I read it’s good to use a vegetable tanned leather for a stropping so I bought one. It’s 2mm cheap cowhide but it works fine for me so far.
Glue
I used a super thin and strong double sided tape to attach the leather on the board but I think it’s best if you use hide glue. When the leather attached now is beaten up and I need to replace it to the new leather, I would use hide glue.
Cutting Leather
I roughly cut the leather with a knife and trimmed it to the final size by chisel. I was surprised how easy to trim it by chisel is.
Just Try!
It was a really easy and quick project that requires only minimal tools so I recommend this project for any beginner woodworkers as a strop is an essential tool for woodworking. At the end of the day, as long as the leather is well attached to the board, it’s functional so don’t be scared of making mistakes and just try it!
Product Gallery