I wanted to have a miter shooting board so I can make a small box easily and I finally decided to make one!
Project Summary
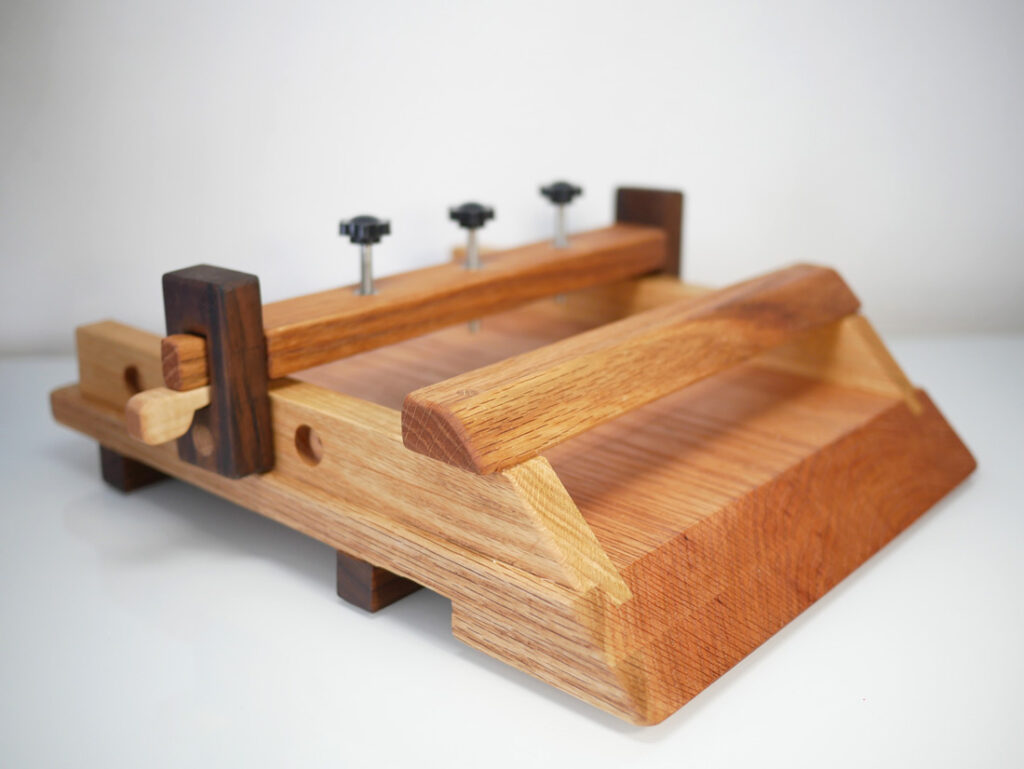
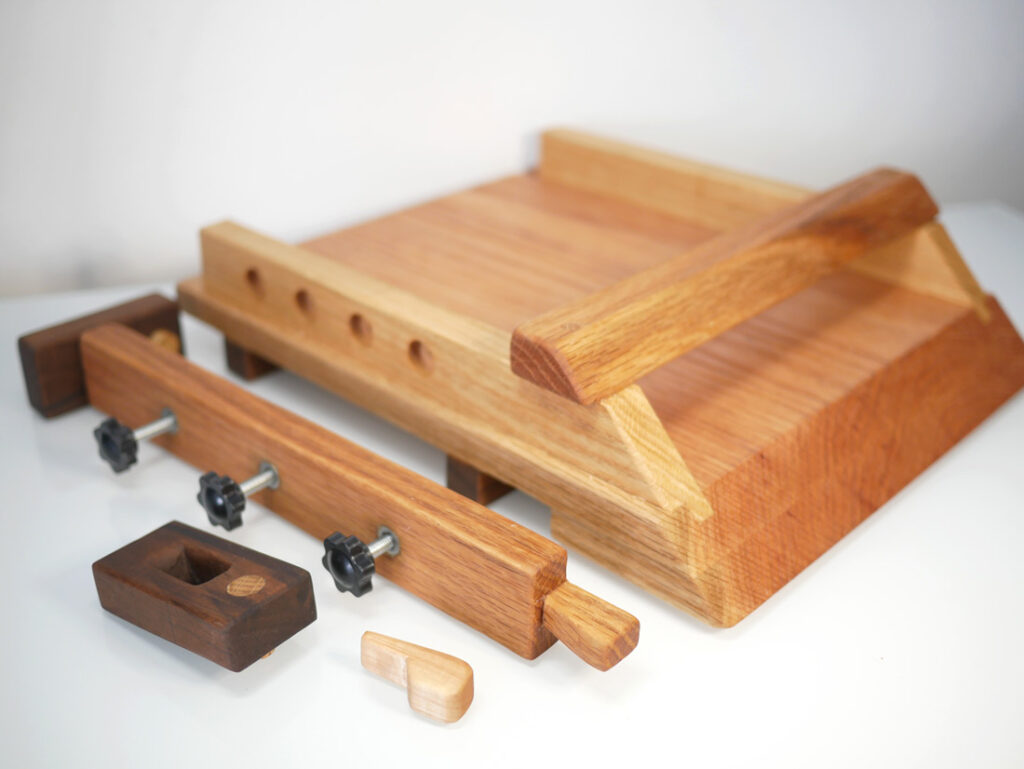
I made a miter shooting board that is based on the Japanese Tome Dai(留め台)style. As I have already made a 90 degree shooting board and felt the strong need of a clamping function to hold a fence or cutting material, I wanted to include an integrated clamping function in the scope of this project.
- Tools I used
- Hand Saws
- Hand Drill
- Chisels
- Hand Planes
- Marking Gauge
On this page, I will share the tips I found during the project. For the steps of how I made it, please watch the video.
My Findings
Making
Materials
I chose red oak for its availability and price. It was a bit tough to fabricate but it’s not something that I can’t fabricate it by hand tools and it seems durable so I think it was a good choice.
Board Orientation
For the board orientation, I chose to make 45 degrees on the end grain. Like I mentioned in the video, in this way, I think it reduces the risk that I accidentally shaves the reference edge when using. Additionally, since it’s an over 11 inch board, I wanted to minimize the opportunity the angle gets off by wood movement over the course of years so I chose it this way.
Shaving 45 Degrees
For the main board, I shaved 45 degrees off by a hand plane from a square edge but I could’ve cut it roughly 45 degrees with a hand saw first. It’s a big time and energy saver.

Gluing the board
As I used the 1″ x 12″ board, I wanted to glue two pieces together to gain the thickness of the reference. Usually, like the very left picture below, it’s strong if you glue outside of the wood together but I chose to glue inside and outside of the board together (the very right picture). This is because it’s easier to adjust the angle by hand plane.

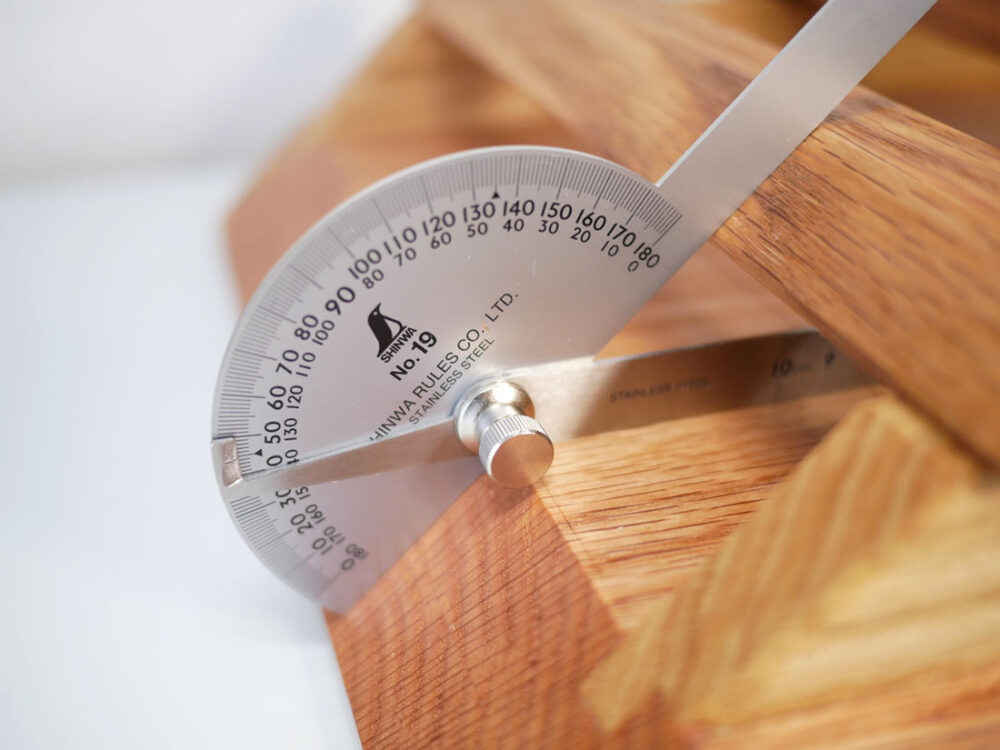
90 Degree Fence
To have a perfect 90 degree fence to the cutting line is a critical thing for this jig. I hand plane the fence so many times off of the camera to adjust it to 90 degrees before gluing it but it came a little bit off after gluing it.
Therefore, before doing the final adjustment of the 45 degree slope, I used a card board that I cut into a perfect square as a reference to make it 90 degrees and it worked.

Top Bar
For the wood movement of the main body, I wanted to use an end grain here, too but it’s not practical so I put it in the side orientation. However, as I assume I will use the left side of the fence mainly, I placed the bar with the grain orientation it goes smooth when I hand plane from the right to left. In this way, it reduces the risk a hand plane catches the grain of the top bar accidentally, when using.
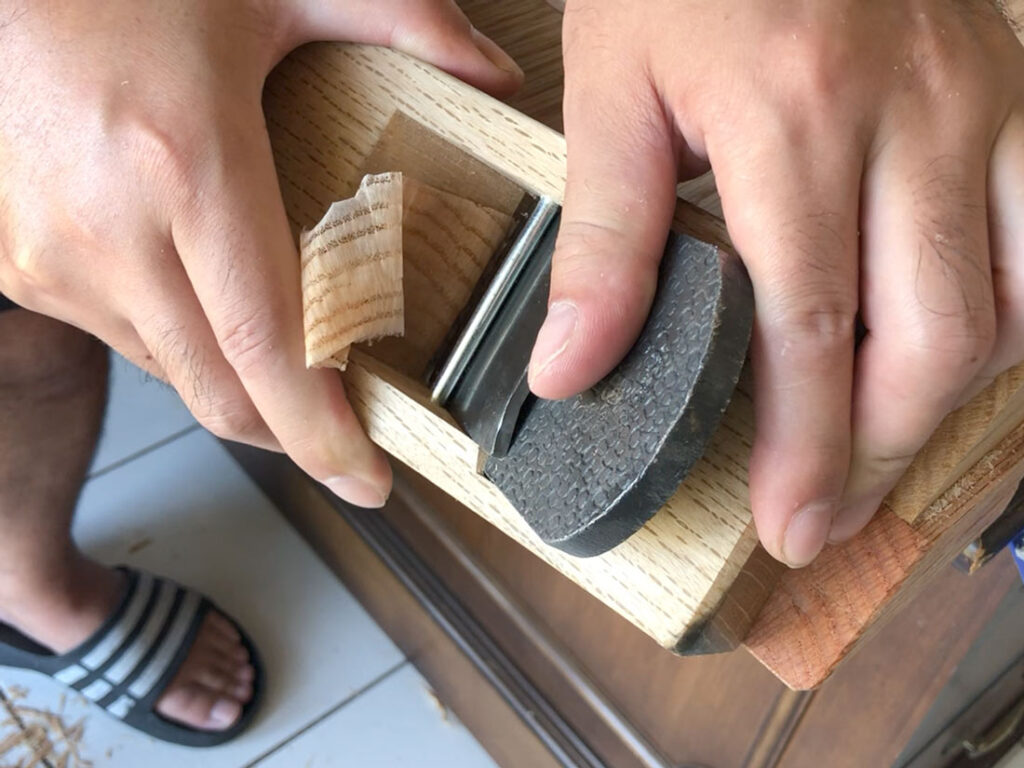
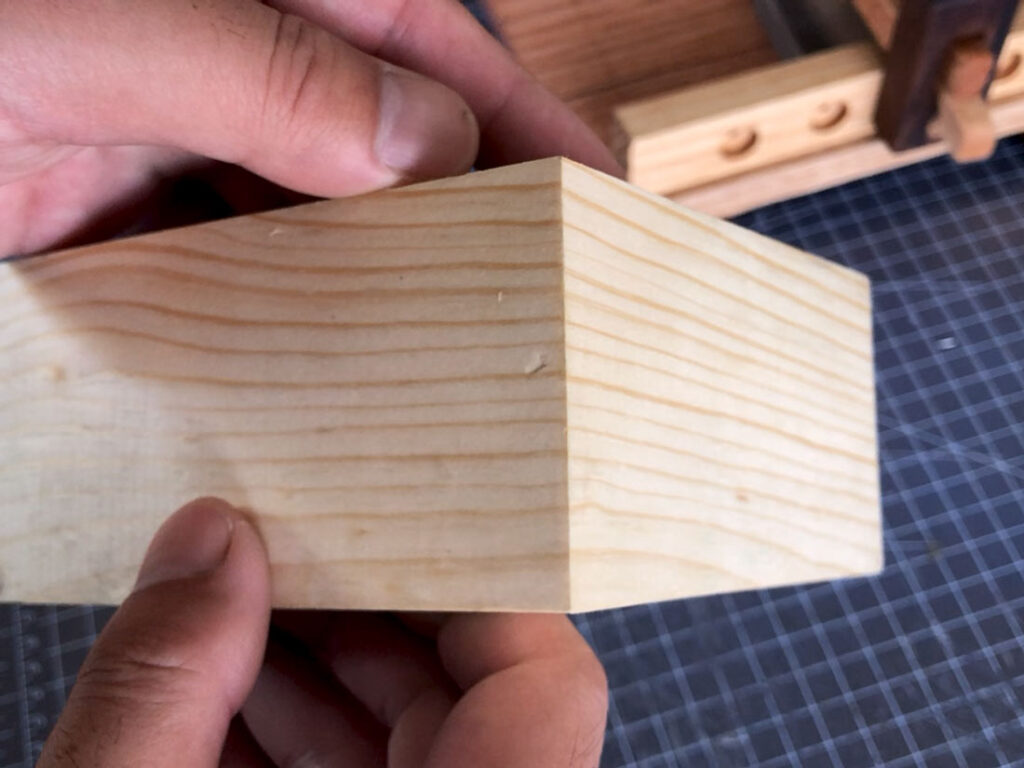
Use Water to Plane the End Grain
When you hand plane the end grain, just get the end grain a little wet by a mist spray or like me, tap it with a wet shop towel. This makes a huge difference in the quality of hand plane. With my low level of sharpening skill, I can still plane the end grain like the picture below!
Using
The Result
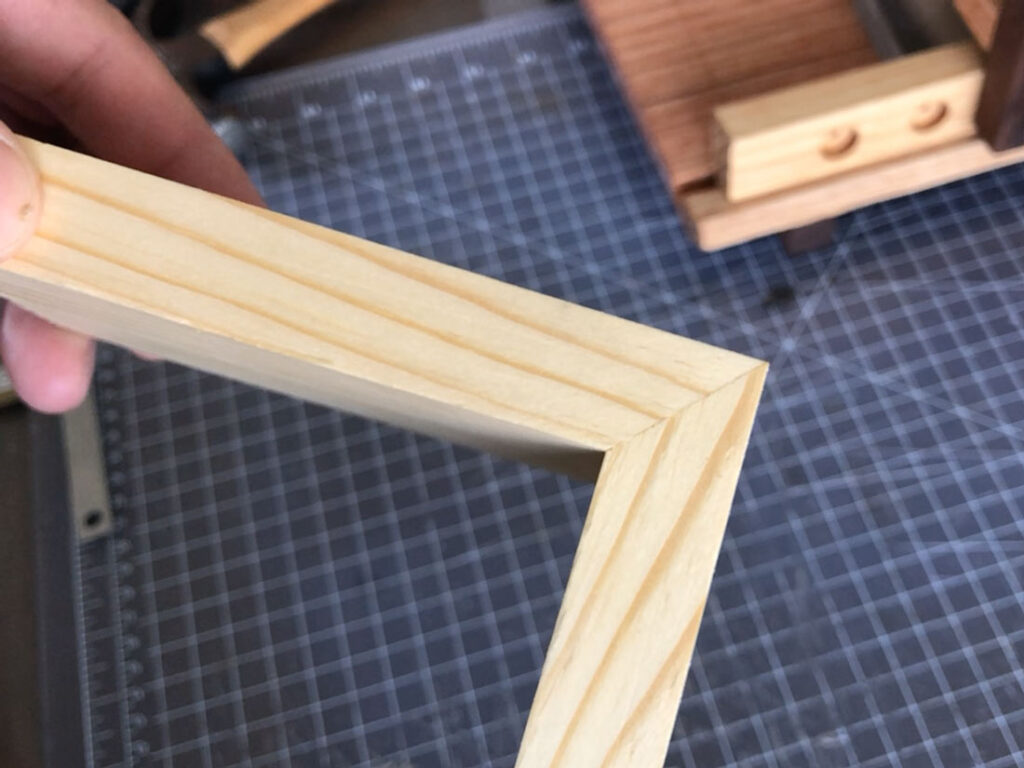
Like I said in the video, the miter cuts I made were almost a perfect 45 degrees (at least not off by 0.5 degrees) but when I glued them together, the corner came to be almost 91 degrees. They connect with each other seamlessly and nicely though. The thing is, I didn’t clamp them to be 90 degrees when gluing (just used a crazy glue to let them stay in place) and I tested this actually about 5 times by now but they all resulted in the same way. I know I’m stupid not using clamps but I wanted to find what was happening here.
Then, I used clamps and this time I used a hard maple (only 1/4″) and they closed perfectly with 90 degrees.
With that being said, I think the end grain absorbed the moisture from the glue and made the angle off a little bit so no matter what, I need to use clamps when gluing.
How Not to Damage the Jig
This is for Japanese hand plane so if you use the top bar as a reference and work from the top side of the wood to roughly cut out the most part, there is no chance the blade hit the bottom reference until you get so close to 45degree.
Then, at the very end, you can use a finely tuned plane to make the last few slices for all surface to make a perfect 45 degrees and you can minimize the risk of the board getting shorter.

Maintenance
This jig in general needs maintenance every time I use it to be sure the reference is a perfect 45 degrees. So far, it didn’t need me to correct the angle but just in case, I need to at least check the angle before using it.
Misc
Outer/Inner 45 Degrees
One guy pointed out this jig references the outside of the board to be 45 degrees and inside can be wanky if the board I’m cutting isn’t flat.
In the worst case, it may end up being like the picture below. Though, the thing is, all the corners will still close as long as the jig can cut a perfect 45 degrees on each piece.
The same thing may happen if I reference the inside of the board but yes, it’s easier to correct the outside of the box with a hand plane afterword so I have to note it here for people who may want to make the similar thing as mine.

Just Try!
I was wondering if I can make a perfect 45 degree reference and it was the biggest challenge in this project but yes, I made it! Yes…. after a looong time of hand plane here and there for MINOR adjustments. The thing is, I now have better understanding of a hand plane as I learned a lot about it from this project. It’s really good to try something you are not sure if you can do it so even if you are just a beginner like me, I think it’s worth to try when you think you want it!
Product Gallery